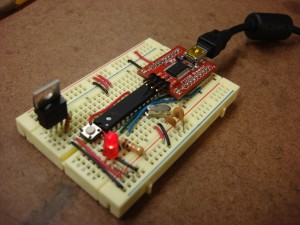
 i got around to working directly with the Arduino’s microchip, the ATmega168, and built my first Arduino on a breadboard. part of the reason is cost…an Arduino Diecimila is $30, even the Barebones Arduino and similar clones are about $15. A raw ATmega168 chip is about $4, and the remaining parts (sans breadboard) are about $3 – so for $7 i can build a circuit around the Arduino’s chip and use the same programming environment.
the main reason to do this is flexibility. i can build ad hoc prototype circuits for individual projects relatively cheaply. also, if i fry a microcontroller it’s just a simple matter to swap it for a new one (which is also true of the packaged Arduino variants.
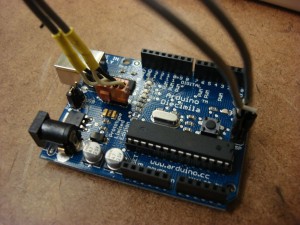
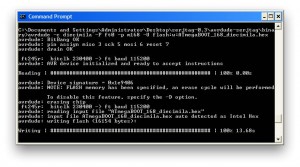
 i wanted to get experience burning bootloaders on raw chips, which then enables them to have new programs loaded easily over usb, typically using the Arduino development software. although we have chip programmers available at ITP, i wanted to try a documented method for using a modified Diecimila board directly to bootload new chips using the “bit bang” capability of the FTDI USB-Serial chip.
 the modification was pretty easy, and although manual (and windows-only) the avrdude-serjtag software was trouble free – at least when following instructions step-by-step. i successfully burned four new ATmega chips then uploaded the basic blink sketch to each.
i set up a breadboard following ITP’s notes, added a USB chip and uploaded some sketches. let me know if you can read the message in the below video :)
Leave a Reply
You must be logged in to post a comment.